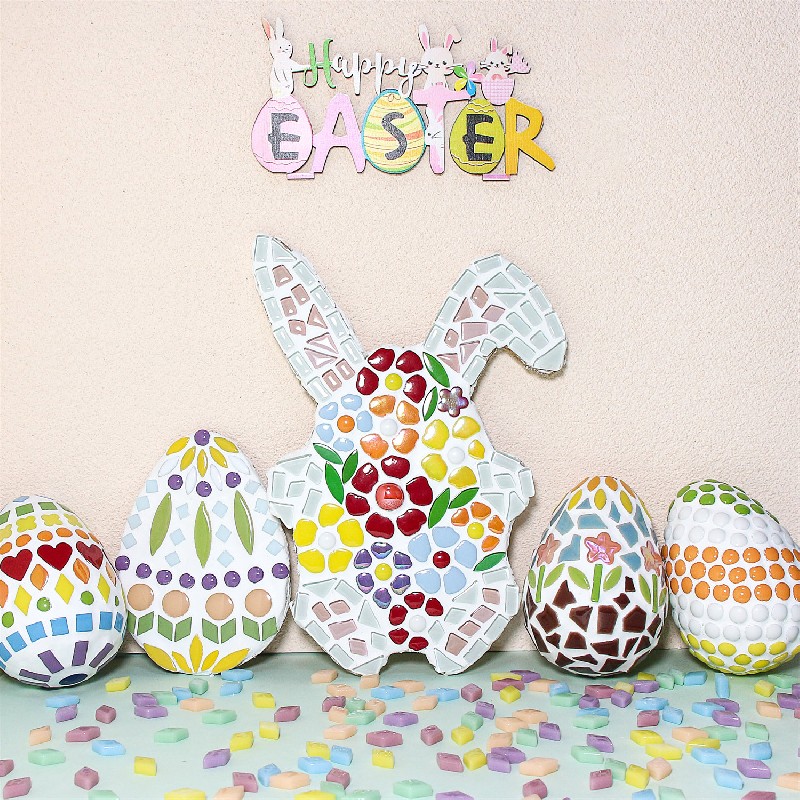
Piece Your Love Together: Valentine's Day Mosaic Heart Kit, Craft a Unique Romance

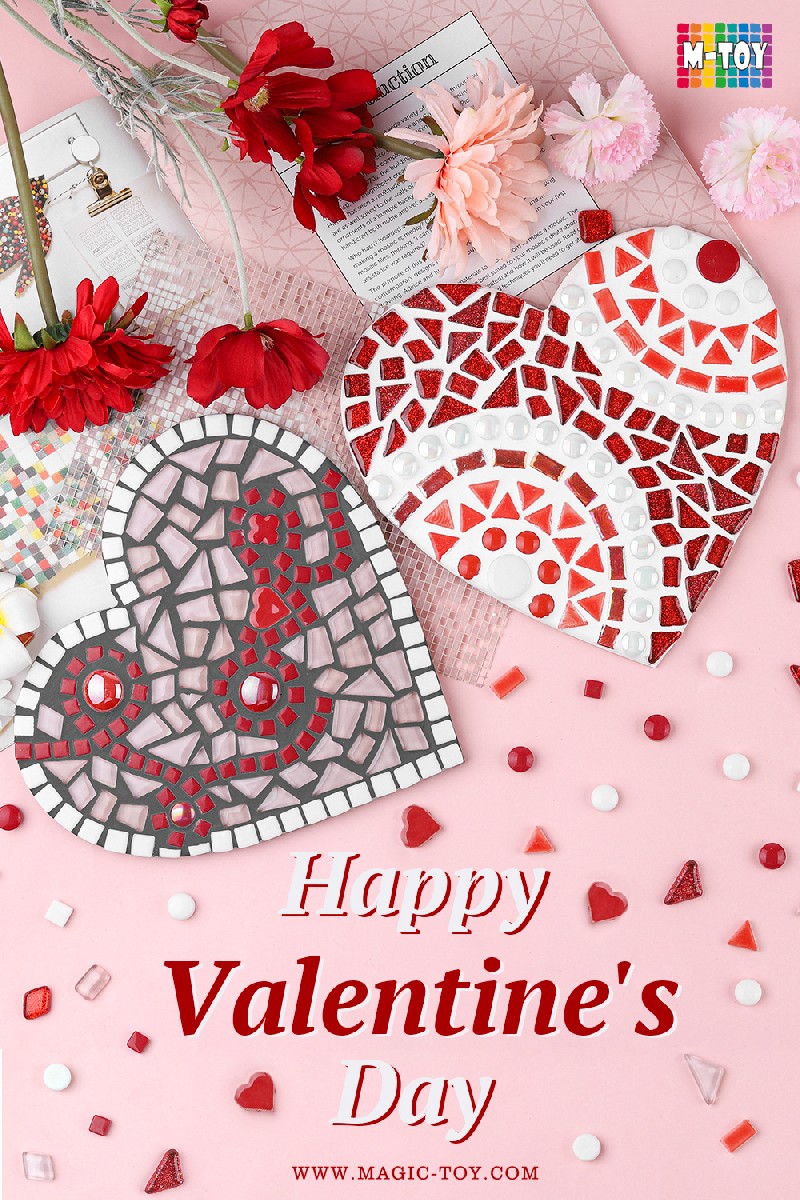
This Valentine's Day, step away from cliché gifts and piece together a one-of-a-kind expression of love with your own hands! We’ve carefully prepared a Mosaic Heart Kit for you and your beloved to create lasting memories, assembling your romance from colorful fragments.
Material needed:
❤ Heart shape wood/MDF base or other material
❤ Enough mosaic pieces
❤ About 22ml glue (any glue which can stick well is good)
❤ About 100g black grout
❤ Grout cleanup supplies (container, sponges or cloth, gloves)
❤ Elegant gift box and beautiful flower
How to make the heart :
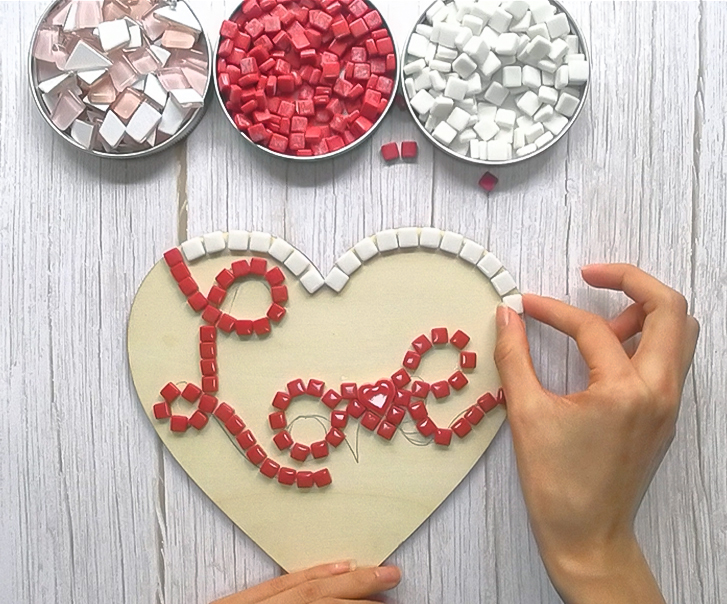
❤ Spend some time planning the layout of your design, ensuring that it will fit onto the face without having to cut your tiles. Confirm where the word "love" will start.(Names, anniversaries, or symbols of love with the mosaic tiles is good also)
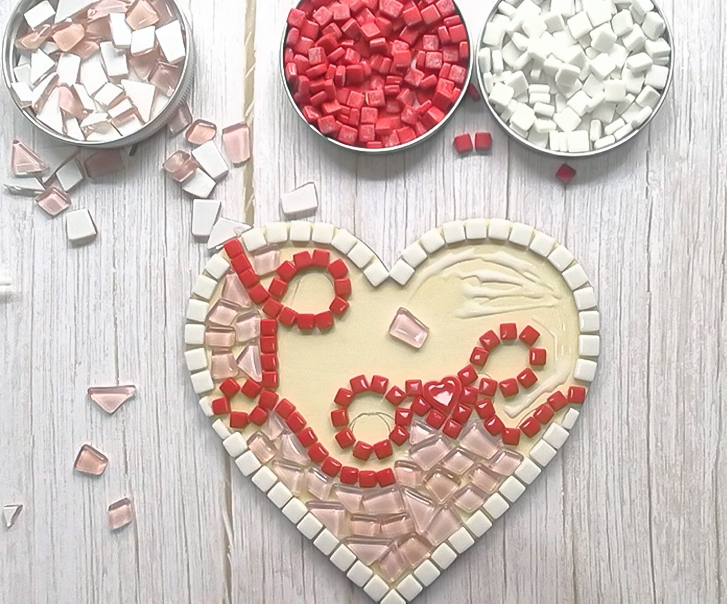
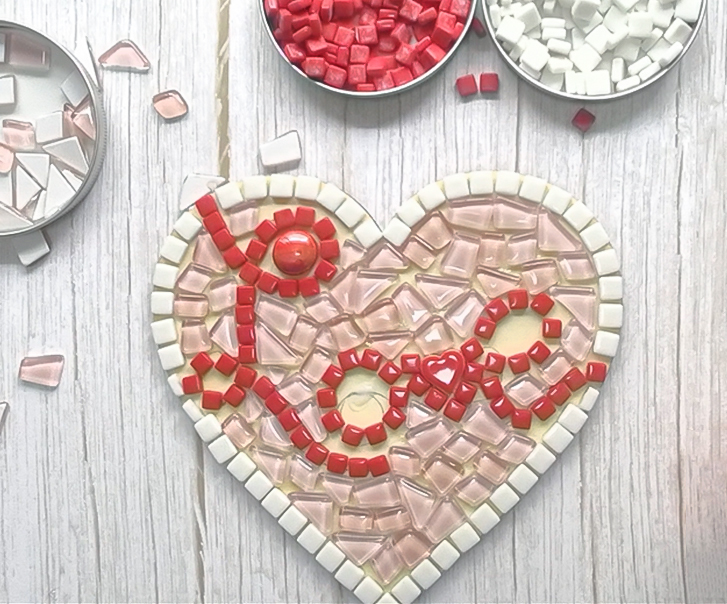
❤ Stick the mosaic pieces from "love" to heart frame to the pink background step by step, feeling the warmth and love flow through your fingertips.
❤ After mosaic chipes are stuck fully, then Fill the gaps with grout and wipe the surface clean, perfecting your heartfelt creation. Clean the surface again to make it look perfect when the grout is dry enough.
❤ Packed it with the gift box and beautiful flower, along with a handwritten note, and present a truly unique Valentine’s gift to your love.

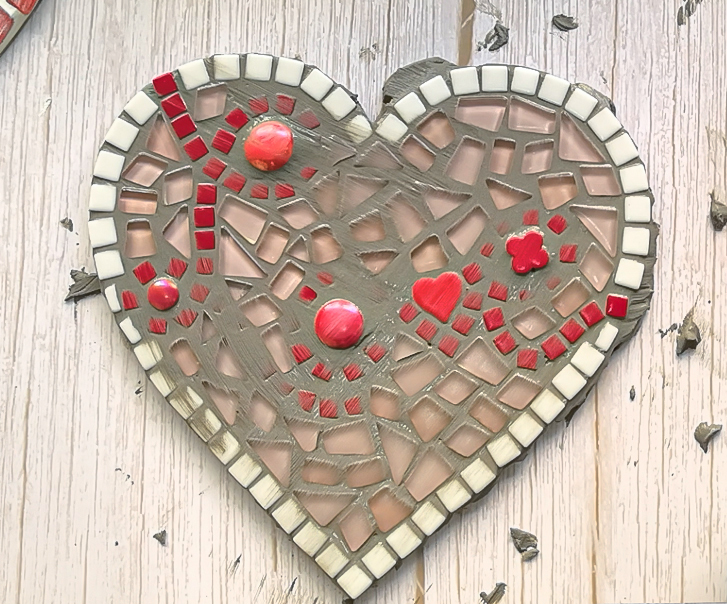
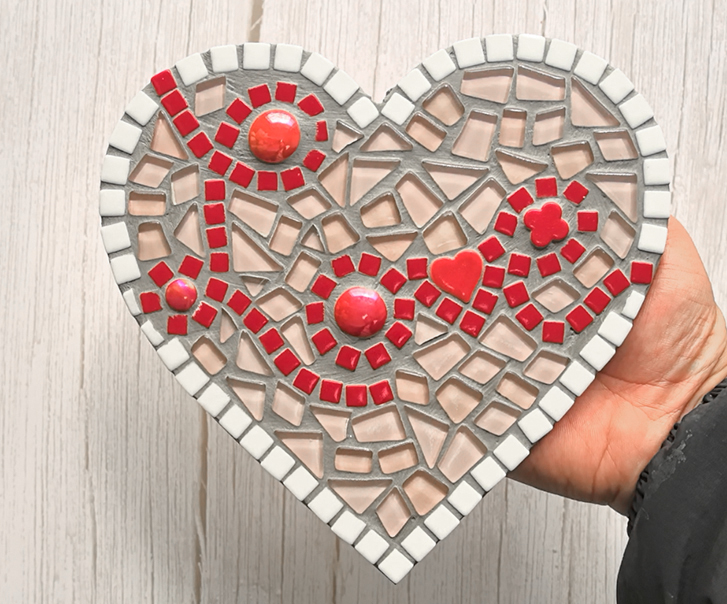
A handmade gift carries your deepest emotions, more precious than any store-bought item. Or create together with your beloved, share laughter, and strengthen your connection while making unforgettable memories.
This Valentine’s Day, piece together the shape of love with mosaics, let affection flow through your fingertips, and light up their smile with your heartfelt effort!


